Manage Scoped Filtering for MS Word
With scoped filtering you can apply different filtering to your content depending on where the content appears in your document. To use it with your Microsoft Word outputs, you need to enable it in your MS Word layout. Once it is enabled, you can set up the filters, as described in Scoped Filtering, and then publish with the MS Word layout.
To enable scoped filtering in a Microsoft Word layout:
Select Layouts and then select a Microsoft Word layout to edit it. If you do not have a Microsoft Word layout, you can create one based on the Default Word layout included in Paligo.
To learn how to create a Word layout, see Create a Layout.
Select Classes and attributes.
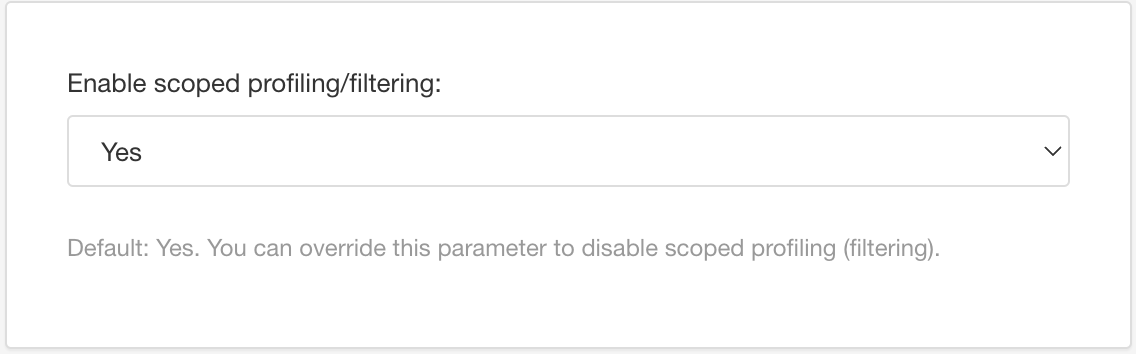
Set Enable scoped profiling/filtering to:
Yes
To use the scoped filtering feature with your MS Word outputs (when using this layout for publishing).
No
To turn off the scoped filtering feature for MS Word outputs (when using this layout for publishing).
Select Save.

When you publish with this layout, Paligo will apply the settings. If you have enabled scoped filtering, Paligo will allow the content to use the scoped filtering feature. To learn how to mark up your content to use scoped filtering, see Scoped Filtering.