Add a Self-Hosted Video
Instead of using a video service, you can self-host your videos and link to them from your Paligo topics. For this to work, you need to know where your videos are stored in relation to where your documentation will be stored. You will need to add the path to the video as the link address in your Paligo topic.
Select a position in the content where the
mediaobjectelement is permitted. For example, between twoparaelements.Select Insert and then select
 Video.
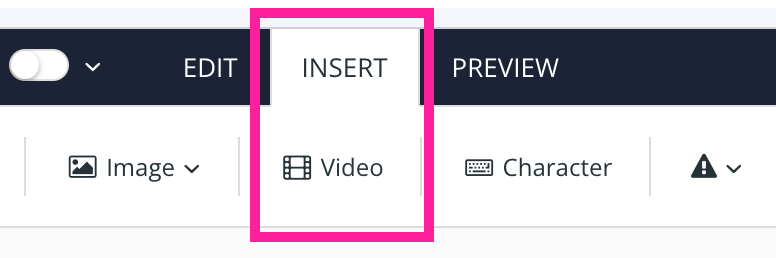
A video frame appears.
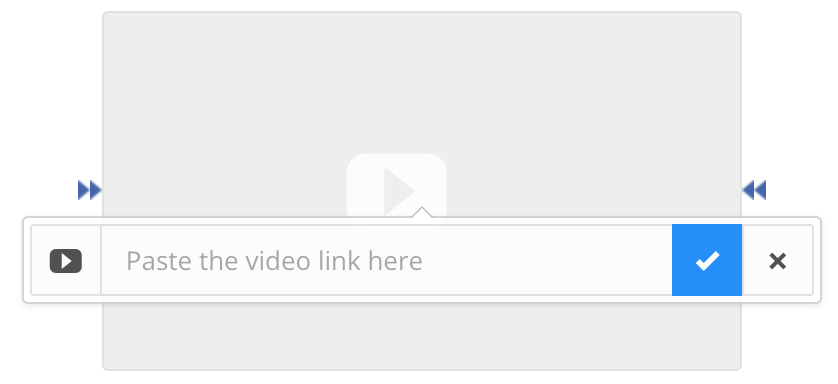
For the video link, enter a relative link. This should be the path of the video file in relation to the location of the documentation files when published. For example, let's say you have a folder structure like this:
Documentation (folder)
out (folder)
en (folder)
HTML files
videos (folder)
video files
Each time you publish from Paligo, you are going to replace the "out" folder with the "out" folder from the publication .zip file. Your videos will remain in the "videos" folder.
For this type of structure, the link from your Paligo topic to your video file should look like this:
"../videos/your-video-file.mp4"
Select Save.

When you publish to HTML or HTML5 you should now see the video embedded in your content.
If you publish to PDF, you will see a link to the video (by default).
Note
If you are publishing videos to Zendesk, but cannot see them, you need to enable videos in the Zendesk settings: Why are videos not displaying in Help Center?